For most homeowners, siding replacement is not something they do often — maybe once or twice in the life of a home. The process can feel uncertain if you’ve never been through it, and not knowing what to expect tends to make the experience more stressful than it needs to be.
The reality is that a professional siding installation follows a predictable sequence of steps, and most of them are far less disruptive than homeowners expect. Knowing what’s going to happen before it starts makes it easier to prepare and easier to recognize when things are going the way they should.
Before Work Starts: Planning and Material Selection
The work on your home doesn’t begin until materials are ordered and a schedule is confirmed. Before that, you’ll go through an estimate and planning conversation that covers the scope of the project: what’s being replaced, what material you’re using, color selection, and any specific details about the home’s exterior that need to be addressed.
In Charleston, this conversation typically includes a discussion of how the material handles coastal conditions, including heat, humidity, and salt air proximity, if your home is near the water. If there are existing areas of damage or moisture intrusion, those are also noted at this stage.
Once siding materials are ordered and delivered, work is scheduled. Lead times vary depending on material availability and contractor scheduling, particularly during busier seasons in spring and summer.
Day One: Removing the Old Siding
Siding installation almost always starts with removing whatever is currently on the home. The existing siding comes off in sections, which exposes the wall sheathing and housewrap beneath it.
This phase is the loudest part of the job. There’s significant noise and some mess — old siding gets stacked for disposal, and it takes up space around the perimeter of the home. Your yard and driveway will be occupied with materials and equipment during this phase.
Once the old siding is removed, the crew will inspect the sheathing underneath. This sometimes reveals moisture damage, rot, or areas where the original installation had issues. Any problems found here need to be addressed before new siding goes on, as putting new material over damaged sheathing is not a repair; it’s just a delay.
Addressing What’s Underneath
If the inspection reveals areas that need attention, like sheathing replacement, framing repair services, or moisture remediation, that work happens before the new siding is installed. Skipping it creates problems that will show up later, sometimes quickly.
Honest contractors will show you what they find and explain what needs to happen before proceeding. In coastal areas like Charleston, hidden moisture damage is more common than in drier climates. Most of the time, this is minor. Occasionally, it isn’t, and knowing what you’re dealing with before it’s covered up is always better than finding out after.
Housewrap and Flashing
Before new siding goes on, the wall needs a proper moisture barrier. Housewrap — a breathable but water-resistant membrane — is installed over the sheathing to create a secondary line of defense against water intrusion. If the existing housewrap is intact and in good condition, it may be reused. If it’s damaged or missing, new material gets installed.
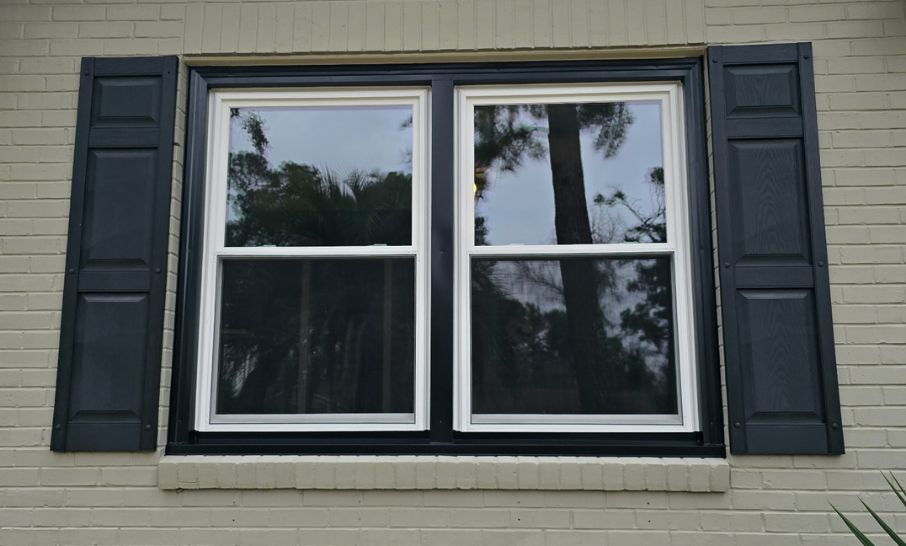
Flashing around windows, doors, and any penetrations through the wall is also critical and often updated during a siding replacement. Properly installed flashing directs any water that gets behind the siding away from the structure rather than letting it collect.
Installing the New Siding
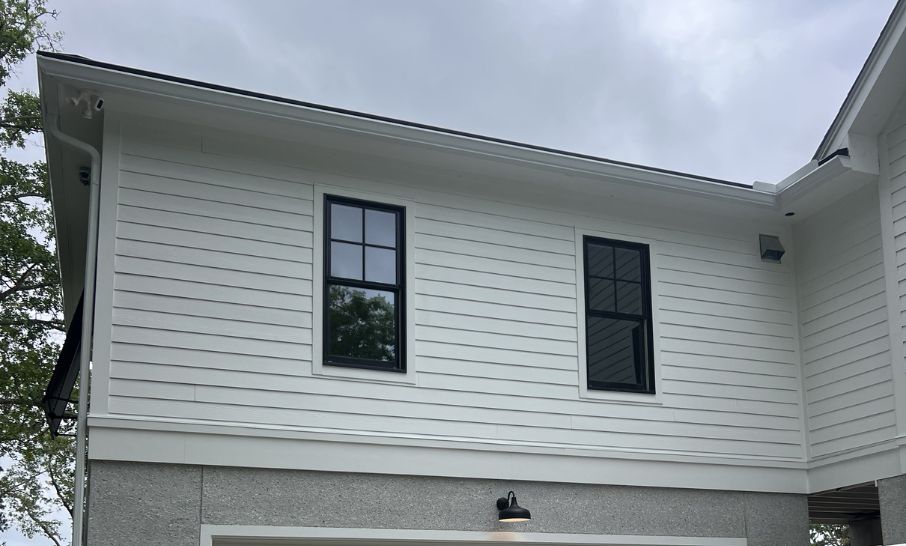
Once the wall is properly prepared, the new siding goes on. Most fiber cement and vinyl siding installation works from the bottom of the wall up, with each course overlapping the one below to direct water away from the wall.
Trim pieces — corners, J-channels around windows and doors, starter strips — go on first to establish the lines the panels will follow. The installation crew will periodically check alignment to ensure courses stay level and consistent as they work up the wall.
For fiber cement specifically, panels are typically installed with a small gap at the joints and sealed with caulk rather than being pressed tight against each other. That gap accommodates the material’s natural movement with temperature changes — an important detail in Charleston’s climate range.
Completion and Cleanup
After siding is installed, caulking is applied at all seams, transitions, and penetrations. This is the final moisture-sealing step and should be thorough—gaps in caulking are one of the most common points where water eventually finds its way into the wall.
For fiber cement siding that’s painted on-site rather than pre-finished, painting happens after installation is complete. Pre-finished fiber cement and vinyl don’t require painting.
Crew cleanup happens at the end of each day and is completed fully at the project’s conclusion. Old siding, packaging, and job site debris should be removed, and your yard and landscaping cleaned up before the crew leaves.
Total Timeline
Most siding replacement projects on a single-family home in the Charleston area take between two and five days, depending on the size of the home, the material being installed, and whether any underlying repairs are needed. Larger homes or projects with significant prep work can take longer.
Weather is a factor — most Charleston siding installation work can’t happen during rain. Siding contractors working in the Lowcountry are accustomed to building weather flexibility into their schedules.
Frequently Asked Questions
You don’t need to be present throughout the job, but it’s a good idea to be available — especially on the first day when old siding is removed, and the inspection happens. If we find something that needs to be addressed, you’ll want to be reachable.
Clear a path around the perimeter of your home so the crew has access to all walls. Move vehicles out of the driveway if possible. Take down any wall-mounted items on the exterior — lighting, address numbers, security cameras — or let the crew know about them.
Most residential siding projects take two to five days. Larger homes, homes with significant underlying repairs, or installations using fiber cement may take longer. Your contractor should give you a realistic timeline before work begins.
Our crew will show you what they’ve found and explain what needs to be repaired before proceeding. Sheathing replacement, framing repairs, and moisture remediation all add time and cost to a project, but they’re necessary for a siding installation to perform correctly long-term.
Most siding manufacturers offer product warranties that typically run from twenty-five years to a limited lifetime. Installation workmanship warranties are separate and vary by contractor. Ask about both before signing a contract.
Ready to Move Forward?
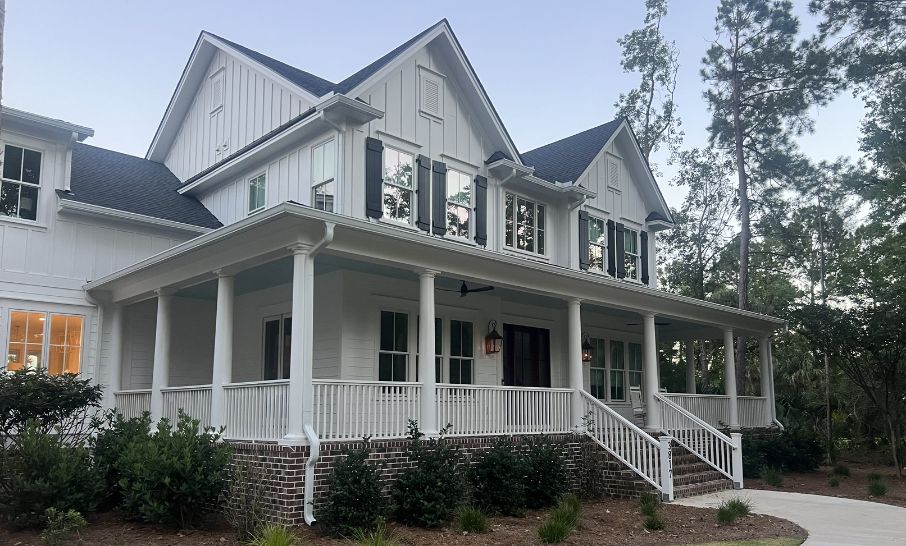
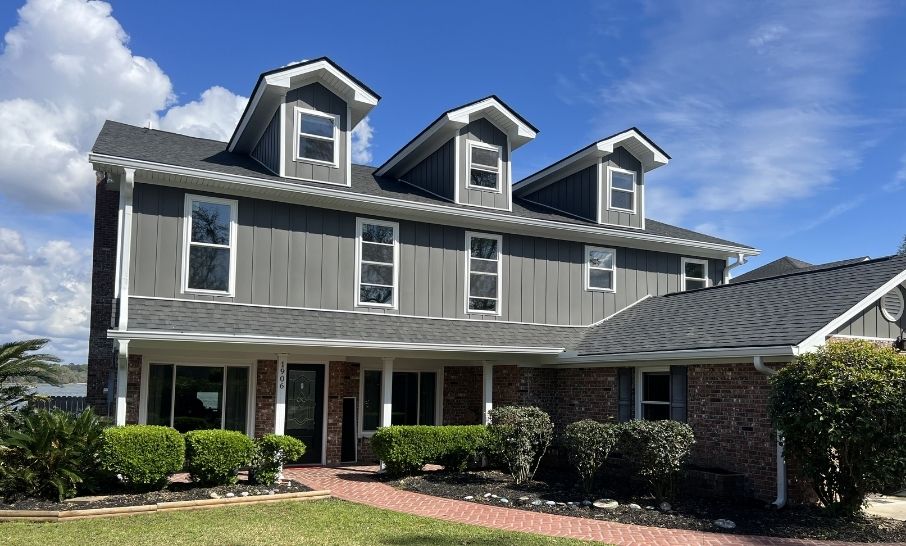
A well-done siding installation follows a clear, predictable process — and when it’s complete, you should have an exterior that performs better than what it replaced and looks noticeably better, too.
Top Tier Home Improvement handles siding installation across the Charleston area. If you’d like to talk through your project and get a free estimate, reach out here.